Pricing starts at $200 for a repair
Worn, cracked, and faded boat seats not only diminish your vessel’s appearance but also compromise comfort during those long days on the water. Learning how to do boat upholstery transforms your marine investment, extending its life while saving thousands of dollars compared to professional reupholstery services.
Whether you’re dealing with sun-damaged vinyl, torn seams, or waterlogged foam, this comprehensive guide walks you through every step of boat upholstery restoration.
From selecting marine-grade materials to mastering professional techniques, you’ll discover how to achieve showroom-quality results that withstand the harsh marine environment.
Understanding Boat Upholstery Basics
Boat upholstery differs significantly from automotive or furniture upholstery due to constant exposure to UV rays, saltwater, moisture, and temperature extremes. Marine upholstery materials must resist mildew, maintain flexibility in cold weather, and endure intense sun exposure without cracking or fading.
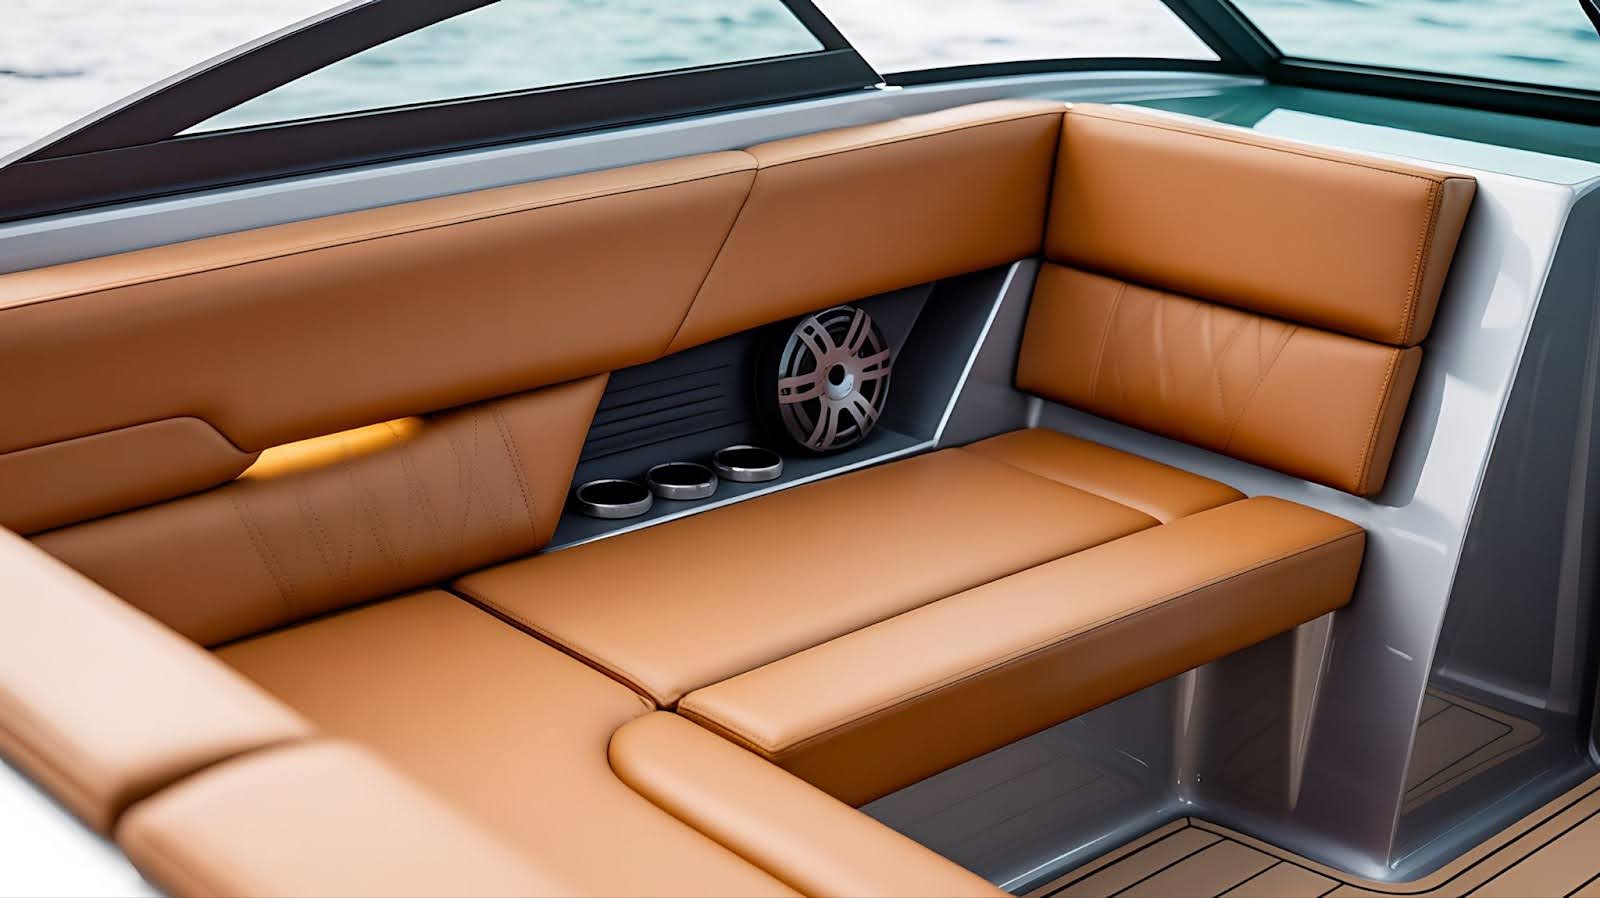
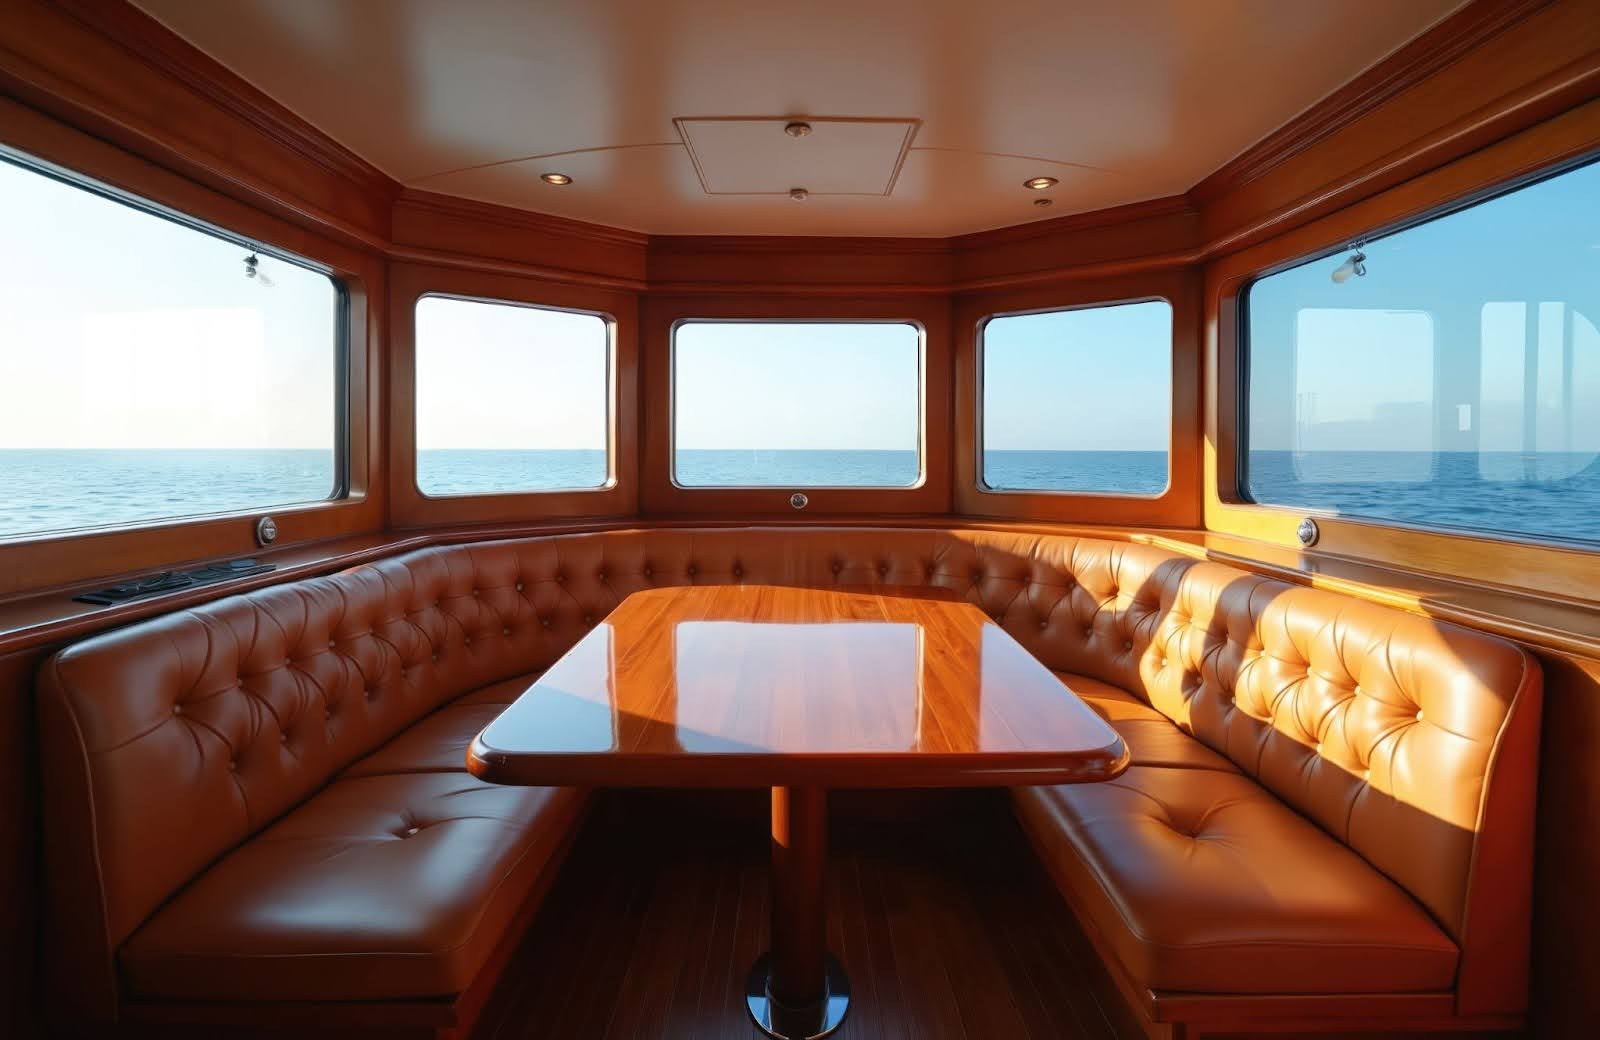
The typical boat upholstery project involves three main components: the vinyl or fabric covering, the foam cushioning, and the backing material. Each element plays a critical role in durability and comfort, making material selection as important as technique.
Marine-grade vinyl represents the most common upholstery material for boats because it resists water, UV damage, and mildew while remaining relatively affordable.
Premium options include Naugahyde, which offers superior durability and comes with extensive warranties. Budget-conscious boaters might choose standard marine vinyl, which still outperforms automotive materials in marine conditions.
How Much Does It Cost to Get a Boat Reupholstered?
Understanding reupholstery costs helps you determine whether DIY work makes financial sense or if professional services offer better value for your specific situation. The cost to get a boat reupholstered varies dramatically based on boat size, material quality, and project scope.
Professional boat reupholstery costs:
- Single seat: $200-$500
- Bench seat (3-person): $400-$800
- Captain’s chair: $300-$700
- Complete pontoon boat: $2,000-$5,000
- Full cabin cruiser interior: $5,000-$15,000
- Yacht interior: $15,000-$50,000+
These professional rates include labor ($50-$100 per hour), marine-grade materials, and warranty coverage. Complex patterns, custom embroidery, and premium materials like Naugahyde or Ultraleather push costs toward the upper range.
DIY boat upholstery costs:
- Marine vinyl: $15-$40 per yard
- High-density foam: $20-$60 per cushion
- Backing material: $10-$25 per yard
- Supplies (thread, adhesive, tools): $50-$150
- Complete seat project: $100-$300 per seat
DIY projects typically save 60 to 70% compared to professional work, making them attractive for multi-seat boats where professional costs quickly escalate. However, factor in your time investment (8 to 15 hours per seat for beginners) and the risk of material waste if mistakes occur.
Essential Tools and Materials for Boat Upholstery
Success in boat upholstery starts with having the right tools and materials. While you can complete basic projects with minimal equipment, investing in quality tools pays dividends through better results and faster work.
Must-have tools:
- Heavy-duty staple gun (pneumatic or electric recommended).
- Marine-grade staples (5/16″ or 3/8″ length).
- Sharp fabric scissors or an electric fabric cutter.
- Pliers for staple removal.
- Seam ripper.
- Spray adhesive (3M Super 77 or equivalent).
- Utility knife with fresh blades.
- Measuring tape and marking chalk.
- Industrial sewing machine (for advanced projects).
- Heat gun (for vinyl stretching).
Required materials:
- Marine-grade vinyl (32 oz minimum weight).
- High-density foam (4-6 lb density for seats).
- Dacron batting or foam backing.
- Marine-grade thread (UV-resistant polyester).
- Vinyl repair compound.
- Welt cord for piping (optional).
- Backing fabric or plastic sheeting.
The sewing machine represents the largest investment, with marine-grade machines starting around $500. However, many upholstery shops rent time on their commercial machines, or you can outsource seam work while handling installation yourself.
How to Reupholster Boat Seats: Step-by-Step Process
Learning how to reupholster boat seats properly ensures professional-looking results that last for years. This systematic approach minimizes mistakes and material waste while building your skills progressively.
Step 1: Remove the Old Upholstery
Carefully remove the seat and photograph all connections and hardware. Use pliers to remove staples methodically, preserving the old vinyl as a pattern guide. Inspect foam for water damage, mildew, or deterioration and replace if needed.
Step 2: Create Pattern Templates
Use the removed vinyl as a template, verifying measurements and adding 2-3 inches for stapling. Label panels clearly and note corner folds and seam allowances. Take photos of folds and pleats for reference.
Step 3: Replace or Refresh the Foam
Select marine-grade foam for durability and comfort. Cut foam to size, bond layers if needed, and wrap with Dacron batting for a smooth finish. Use spray adhesive to hold layers in place.
Step 4: Cut and Prepare New Vinyl
Lay vinyl face-down and position patterns, aligning texture or grain. Mark cutting lines and seam allowances with chalk and cut carefully with sharp scissors. Mark stitch lines for sewn panels if required.
Step 5: Sew Panels (If Required)
Use a heavy-duty sewing machine with a walking foot for thick vinyl. Test settings on scrap material, use paper clips instead of pins, and insert welt cord where needed. Sew panels carefully to avoid puckering.
Step 6: Install the New Vinyl
Center the vinyl over the foam and staple starting at the center of each side, working outward. Pull material taut without compressing foam. Fold corners neatly, using pleats for rounded corners or an envelope fold for square corners.
Step 7: Finish and Reinstall
Trim excess vinyl and attach a bottom cover panel if needed. Check all staples and replace any that are loose. Reinstall seats, following photos for correct placement, and test stability before use.
Advanced Boat Upholstery Techniques
Once you’ve mastered basic seat reupholstery, several advanced techniques allow you to tackle more complex projects and achieve truly professional results.
Creating Custom Patterns
For older boats or custom builds, create patterns from scratch using inexpensive fabric like muslin for test fits. Measure surfaces, break them into simple shapes, make paper templates, adjust for fit, then transfer to vinyl. For 3D shapes, use the “paper tape method” to form accurate patterns.
Installing Decorative Elements
Pleats, tufting, and decorative stitching enhance upholstery. Mark evenly spaced pleats, pinch, and sew consistently. For tufting, pull vinyl into foam at set points, and secure with buttons or staples. Mark and sew stitching patterns using UV-resistant thread for durability
Working with Piping and Welts
Piping reinforces seams and creates a professional look. Cut strips on the bias, wrap around cord, and sew with a zipper foot. Attach piping to one panel, then sandwich it between layers for clean edges and smooth corners.
Repairing Existing Upholstery
Minor damage can be repaired without full reupholstery. Clean and apply vinyl repair compound to small tears or cracks, matching texture. Re-sew delaminated seams and reinforce stress points. For sun-damaged vinyl, use marine coatings to restore color and flexibility, reapplying every 1-2 seasons.
Common Boat Upholstery Mistakes to Avoid
Learning from others’ mistakes saves time, money, and frustration. These common mistakes afflict many first-time upholstery projects but are easily avoided with proper planning.
Using Automotive Materials
Automotive vinyl may look cheaper but fails quickly in marine conditions. Always use marine-grade vinyl with UV inhibitors and mildew resistance.
Insufficient Material Allowance
Add 2-3 inches extra for stapling and corner folds. This allows proper positioning and secure grip, and excess can be trimmed.
Ignoring Foam Condition
Old or damaged foam ruins new vinyl. Replace any foam that is compressed, waterlogged, or mildewed.
Over-Tightening Vinyl
Pulling vinyl too tight stresses foam and reduces comfort. Vinyl should lay smooth while letting the foam compress naturally.
Skipping Test Fits
Always test-fit vinyl at each stage. Check alignment before sewing and again before stapling to avoid errors.
Maintaining Your Boat Upholstery
Proper maintenance extends the life of your upholstery investment significantly. Marine environments constantly attack vinyl and stitching, making preventive care essential rather than optional.
- Clean Regularly: Use cleaners made for marine vinyl. Avoid bleach or ammonia, which degrade UV protection.
- Use a Soft Brush: Work cleaner into textured vinyl, then rinse thoroughly with fresh water.
- Apply Protectant: Treat vinyl every 4–6 weeks during boating season. Protectants restore oils, maintain flexibility, and block UV.
- Cover Your Boat: Use covers for seating areas when not in use. UV causes fading, cracks, and water penetration.
Repair Small Damage Quickly: Fix minor seam separations immediately. Early repairs save time and money and prevent major tears.
When to Hire a Professional
DIY boat upholstery works well for simple projects, but complex jobs often require professional expertise. Experts handle intricate patterns, compound curves, and unusual shapes to achieve results that look factory-installed rather than homemade.
Professional services are also valuable when time is limited, tools are lacking, or the boat has high value. Skilled upholsterers complete work faster, sew complex panels, and ensure show-quality results that protect your investment.
DIY vs. Professional: Making the Right Choice
Choosing between DIY and professional boat upholstery depends on your skills, tools, time, and project complexity. Simple seats can be completed at home, but custom patterns, curves, and high-value boats should be left to professionals.
To balance cost and quality, many owners employ a hybrid strategy that involves do-it-yourself foam replacement and reinstallation while hiring experts to handle cutting and sewing.
For expert, long-lasting results, Auto Doc NW delivers precision marine upholstery that looks and performs like new. Contact us today to discuss your project and see how we can bring your boat’s interior to the next level.
Frequently Asked Questions
How long does DIY boat upholstery take?
First-time DIY projects take 8–15 hours per seat, including removal, pattern making, sewing, and installation. Simple seats take less, while complex multi-panel seats take more; experienced DIYers finish simple seats in 4–6 hours.
Can I reupholster boat seats without sewing?
Single-panel seats can be stapled without sewing, but multi-panel designs, decorative stitching, or piping need sewing for durability. You can outsource sewing while handling the rest of the steps yourself.
What weight vinyl should I use for boat seats?
Use marine-grade vinyl at least 32 oz.; 35–38 oz. is better for high-traffic areas. Heavier vinyl resists punctures, UV, and wear, extending seat life.
How do I prevent mildew on boat upholstery?
Prevent mildew with good ventilation, marine-grade anti-microbial vinyl, and regular cleaning. Ensure seats dry fully, and consider ventilated seat bases to avoid trapped moisture.
Can I use a regular sewing machine for boat upholstery?
Home machines often struggle with marine vinyl. Use heavy-duty or industrial machines with walking feet and large needles, or rent time at upholstery shops.
How often should boat upholstery be replaced?
Marine vinyl lasts 7–10 years in moderate climates and 5–7 years in harsh conditions. Replace when cracking, seams fail, foam deteriorates, or fading occurs. Regular cleaning and UV protectants extend lifespan.